
Affiliate Disclosure: This post may contain affiliate links. If you buy through them, I may earn a commission at no extra cost to you. For more information please refer to the Disclaimer, Terms and Conditions, and Privacy Policy.
This post is all about building a backyard halfpipe or mini ramp.

Before we get started discussing our rad backyard halfpipe, I have an important question. Can we go ahead and bring back the word rad? I suggested my kids should start saying “rad” with their friends to see if they could bring it back, but they weren’t interested. Anyway, I think it’s a perfectly fitting word to describe the halfpipe (mini ramp) we built in the backyard. It really did turn out super rad!
Here’s a photo of the our final DIY backyard mini ramp.

It turned out so good. After it was all built, we definitely had some lessons learned and tips to share that are very important. So, if you’re thinking about building a halfpipe, be sure to read on. We have some important tips that may save you some hassle and money!
Table of Contents
Our Backyard Halfpipe (Mini Ramp) Size
How to Build a Backyard Halfpipe (Mini Ramp)
Must Have Accessories
Essential Skateboarding Gear
Building a Backyard Halfpipe: Lessons Learned
Our Backyard Halfpipe (Mini Ramp) Size
We built our backyard halfpipe approximately 12′ wide by 25′ long and 3.5′ high. With the space we had available in the backyard, this size was our best fit. Before building your backyard halfpipe, be sure to assess your space and keep in mind the height of the ramp. Check for trees that could be in the way, etc.
How to Build a Backyard Halfpipe (Mini Ramp)
Building a backyard halfpipe is not extremely difficult, but it is labor-intensive and takes quite a bit of time. There are SO many screws in this build, so be prepared for a forearm workout!
To describe how we built our backyard halfpipe, I am going to share a series of progress photos. I think the photos will explain a lot better, and give you a really good idea of the process.

We used cinder blocks for our base.

First piece of one side in place. Each side has two pieces.

Support boards added.

Second piece set up on the opposite side.

One side is now complete.

Added the top rail and plywood sheets.

All plywood in place.

Make sure no screws are sticking up!

Take a test run!! My kids could not wait to test this thing out, so they were skating it like crazy as soon as the plywood was in place.

We added the railings to the top platform and painted all the boards black. We then started to add the Masonite top sheets. FYI. We went with Masonite sheets for our top surface, but these DO NOT hold up well in our midwestern weather. If we could do it all over again, we would have just ordered the Skatelite sheets. See more about that in our lessons learned below. If you are building your halfpipe inside, the Masonite sheets will work great.

View of our backyard halfpipe from the back.

The halfpipe is so close to done. Adding the final sheet of Masonite.

Here is the final backyard halfpipe fully constructed.

We decided to paint the surface! I love the way the halfpipe turned out with the black and grey!
Here is a photo of the fully completed backyard halfpipe. We even added lighting stands on both corners!

Here is a night view of the halfpipe with the lights!
Must Have Accessories
Every halfpipe needs to be properly accessorized. We bought some signs, and placed decals, etc. I think it would also be really cool to have some custom graffiti added! Here are some links to some must haves to level up your backyard halfpipe!


Not Responsible For Accidents Sign
Essential Skateboarding Gear
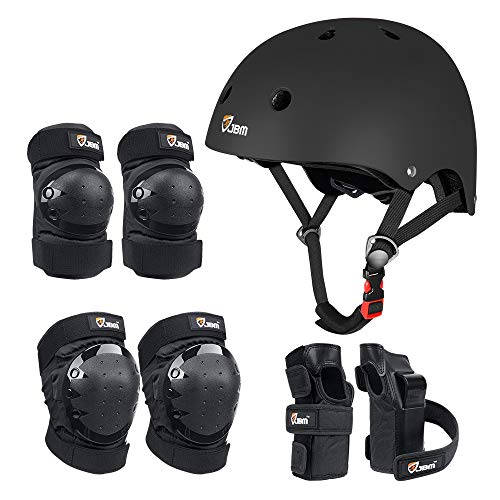
Make sure you have all the essential skateboarding gear to enjoy your backyard halfpipe!

Skateboarding Protective Gear Set
Building a Backyard Halfpipe: Lessons Learned
Overall, this was a really fun project, and we are pleased with the results. It rides really nice and quiet, and the kids love skating on it. If we could do this project all over again, we definitely would have bought the Skatelite sheets instead of using Masonite.
Valuable Lesson: Don’t use Masonite for a Backyard Halfpipe!
With such a huge structure, it’s not really feasible to cover during weather. We found out the hard way that the Masonite does NOT hold up to rain. We thought the layers of oil based paint and top coat would help protect it, but it was bubbling at most of the joints and around the screws.
We ended up tearing all the Masonite off and replacing them with HDPE panels that we thought would hold up much better to weather. Here are the HDPE panels that we bought from Menards: HDPE Sheets

We thought it looked really cool with the white panels on the outside and black down the middle! We were really liking these panels and thought we had solved the problem. However, while these panels do well in wet conditions, unfortunately, we discovered that they do not do well in high temperatures. We had our first day in the 90’s and the panels all started warping and created ripples. The screws even popped out on some of them.
So, if you’re planning to build a half pipe, go for the Skatelite. We’ve already done the hard work to test out other options, to no avail.
If you decide to build a halfpipe or already have, we’d love to hear about your experience. Drop us a comment below!
This post was all about building a backyard mini ramp or halfpipe.
Other Posts You May Like:
- 15 Outdoor Activities for Kids: Things Your Kids Will Actually WANT to Do!
- How to Build a Custom Medal Hanger & Trophy Display
- Useful and Unique Gifts for Kids
- How to Build a Batting Cage in your Garage!
- Top 100 Easy Gift Ideas for Women
- The Best Gifts for Teen Girls
- The Perfect Gifts for Employees/Coworkers/Bosses
Affiliate Disclosure: This post may contain affiliate links. If you buy through them, I may earn a commission at no extra cost to you.
Amazon Affiliate Disclosure: living-savvy.com is a participant in the Amazon Services LLC Associates Program, an affiliate advertising program designed to provide a way for websites to earn advertising revenues by advertising and linking to Amazon. For more information please refer to the Disclaimer, Terms and Conditions, and Privacy Policy.