
Affiliate Disclosure: This post may contain affiliate links. If you buy through them, I may earn a commission at no extra cost to you. For more information please refer to the Disclaimer, Terms and Conditions, and Privacy Policy.
This post is all about converting bifold doors to french doors.
Do you have bifolding doors in your home? If you are like me, I just absolutely despise bifold doors. I seriously hate everything about them. They typically look cheap, they fall off the track, don’t line up properly, or don’t close properly, and frankly, they just look bad. So, if you share my disgust for bifold doors, then you’ll want to see how I updated my bifold doors for under $200.
I really debated if I would just convert my existing bifold doors to french doors, or if I should just remove them completely and start over. I’ve seem some really well done bifold door makeovers, that looked really easy to do. However, after pricing out buying the wood I would need and all the work involved, I decided to just buy new doors. I was also concerned because I knew you would always be able to notice that the bifold doors had been converted on the inside of the doors, and I figured for the minimal extra cost, I may as well just get new.
This post is all about the easy process to convert bifold doors to french doors.
Bifold Doors to French Doors – Supplies List
If you are ready to ditch your bifolding doors, and upgrade to a more affordable and modern french doors, then here are the supplies that you are going to need.
Bifold Doors to French Doors Supplies List
- Qty 6 – 3 1/2″ Door Hinges – I used matte black
- Qty 2 – Double Roller Cabinet Catches. You could also use magnetic clatches if you prefer.
- Qty 2 – Interior Door slabs – Sized to fit your opening. Mine were 24″ x 80″ doors. Buy at Menards
- Qty 2 – Door handles
- Qty 1 – Door Hing Jig


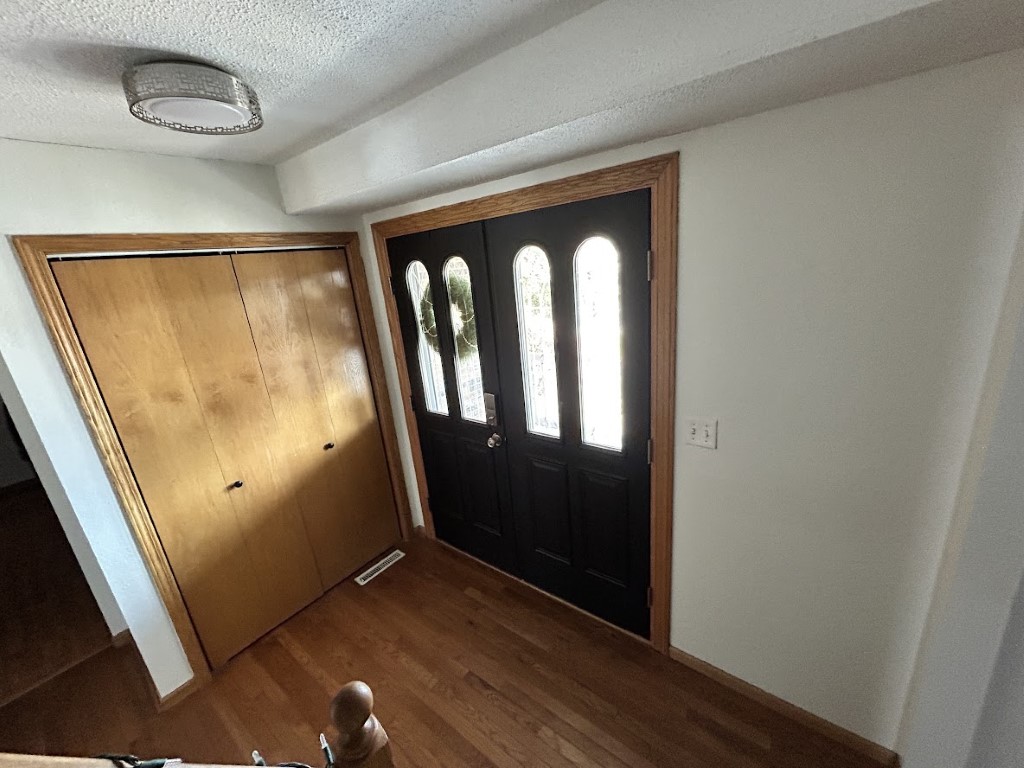
Here are some before photos of the bifold doors that we are upgrading to French doors.
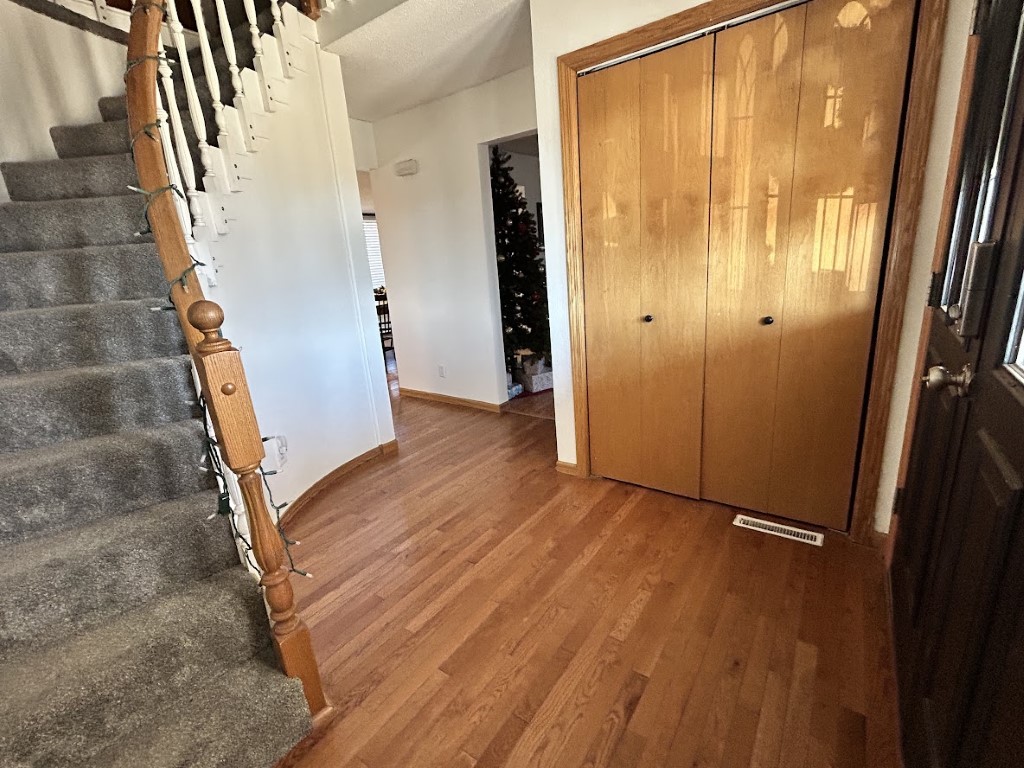
Step 1: Remove Bifold Doors
The best feeling is removing those old bifold doors! As you can imagine (since they fall apart so easily), taking the bifold doors out, is a cinch. There are different types of bifold door tracks and hardware, but it is pretty straight forward. You’ll need to remove the doors from the track first. Typically you just fold the door, and then press up up or down to release the door from the track. With the doors removed, you just remove the metal track on the top, and the hardware that was installed on the bottom.
Step 2: Buy Supplies
Doors
There are tons of different styles of interior slab doors, so just pick one that matches the look you are going for. I found some at Menards that were exactly what I wanted, and was so excited when I saw they were only $72! Here are the doors that I used: 1-Panel Interior Door. One thing to note is that these doors do not have knob holes, or edge stile for hinges. I did not want doors that had knob holes, since I will be adding my own cabinet handles to these doors. You will have to route the doors for the hinges, so if you don’t already have a hinge jig, you may want to purchase one.
Door Hinges
If you purchase doors that already have hinges routed, be sure you buy the correct size of hinge for your door. I purchased these 3 1/2″ matte black hinges that were $15 for 6 hinges.
Door Catches
You can either use double roller catches (like used in cabinets) or magnetic door catches. Either option will work just fine! I went with the roller catches, and they were only $5 for two.
Roller Catches
Magnetic Catches
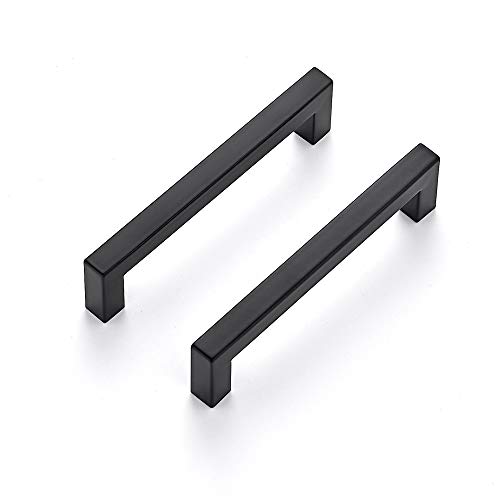
Door Handles
If you chose to get new doors that do not have predrilled knob or other hardware holes, then you can choose any door handles you want! If your new doors have predrilled holes, just be sure you select a new door handle with the correct hole spacing to fit your door. I had such a hard time choosing the handles, because there are just so many gorgeous handles to choose from. I ended up going with a simple gold 5″ handle that cost about $2.89 each.
Step 3: Prepare Doors and Frame and Paint
Now you are ready to get your brand new doors ready for installation.
Prepare Doors and Door Frame
If you did not purchase doors that already have hinges routed, then you will need to route your doors for the hinges. You will also need to measure and precisely place your door hinges on your door frame. Be sure you have this all perfectly lined up.
You can also go ahead and install your door handles at this time.
Paint
If you didn’t buy pre-finished doors, then you will need to paint your doors in the color of your choice. I also plan to paint my door frame white, as that was part of my vision for my new closet!
Here is a photo of the doors painted black. Paint is still wet 😊*Note – there are three doors (actually four) because I converted two sets of bifold doors at the same time!

Step 4: Install New French Doors
This is the easy part. Attach all the hinges to the door frame and the doors. Once the doors are in place you can mark and attach the door catches that you are using (roller ball or magnetic). That’s it. You should now have easily upgraded your bifold doors to beautiful French doors that are more functional!
Bifold Doors to French Doors Conversion
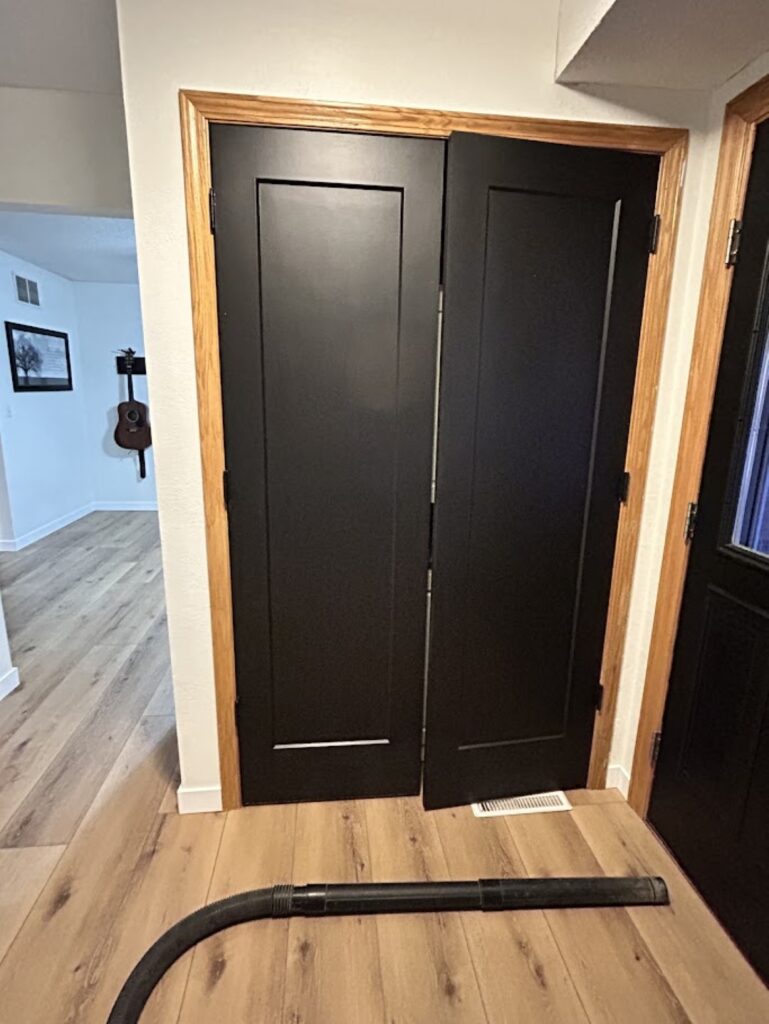
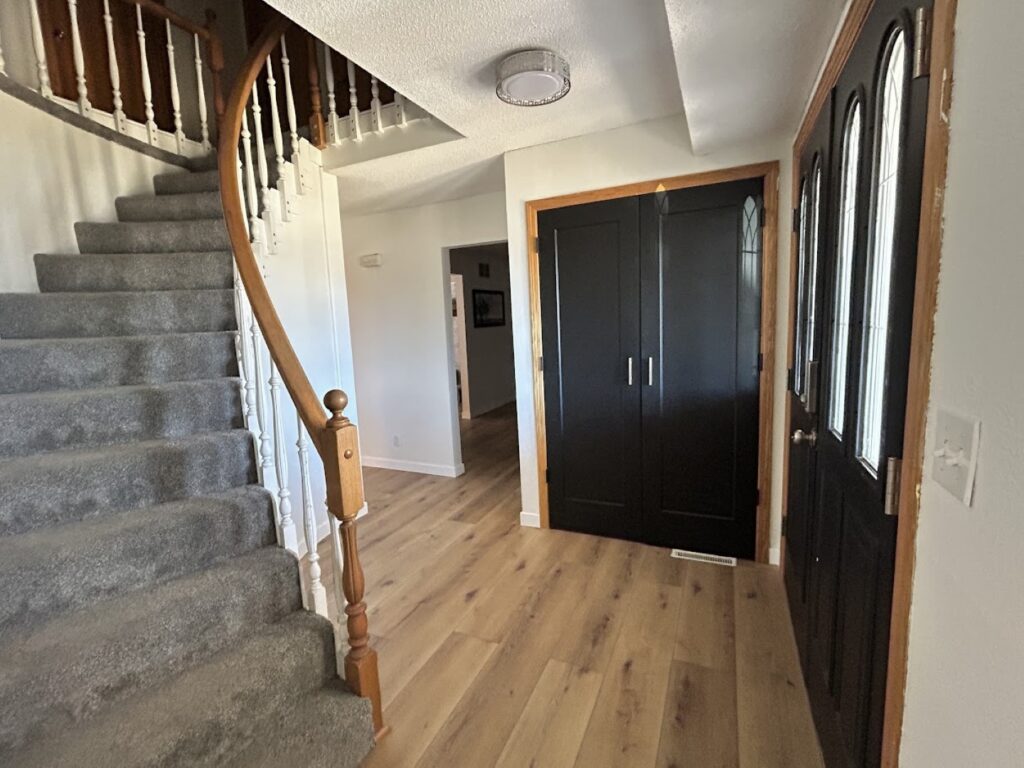
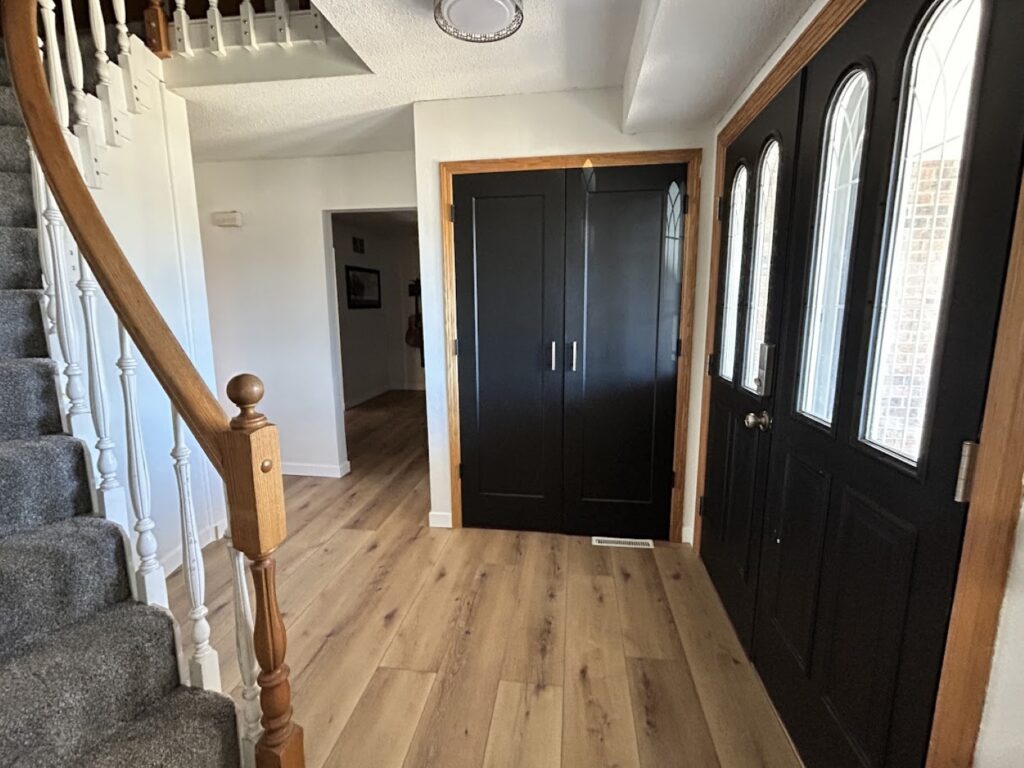
What do you think? Do you like how my new doors look? I couldn’t be happier with the end result, and have already converted another set of bifolding doors in my house. I mean for under $175 per closet, I just think it is so worth it! You may also notice I upgraded my flooring too. Yes, it was a busy busy couple of weeks, but totally worth it. If you are interested in all the details about my flooring upgrade, see that post here: Coretec Cairo Oak Flooring Review and Experience
Shop this Post
Quick access to all products referenced in this post!
Now you should know how to upgrade bifold doors to French doors for an instant upgrade!

Other posts you may like:
- Coretec Cairo Oak LVP Flooring – Review and Experience
- DIY Custom Medal Hanger & Trophy Display
- How to Build a DIY Floating Bed with Lights
- How to Build a DIY Garage Batting Cage
- Our Super Rad DIY Backyard Halfpipe (Mini Ramp)
- DIY Modern and Trendy DIY Guitar Wall Rack for under $25
- DIY Easy Whitewash Brick Fireplace
- Pleat Perfection: A Simple No-Sew Approach to Add Pleating Tape to Curtains
- The BEST Black Paint – BEHR LIMOUSINE LEATHER
Affiliate Disclosure: This post may contain affiliate links. If you buy through them, I may earn a commission at no extra cost to you.
Amazon Affiliate Disclosure: living-savvy.com is a participant in the Amazon Services LLC Associates Program, an affiliate advertising program designed to provide a way for websites to earn advertising revenues by advertising and linking to Amazon. For more information please refer to the Disclaimer, Terms and Conditions, and Privacy Policy.