
Affiliate Disclosure: This post may contain affiliate links. If you buy through them, I may earn a commission at no extra cost to you. For more information please refer to the Disclaimer, Terms and Conditions, and Privacy Policy.
This post is all about the razor electric dirt bike upgrade to increase speed!
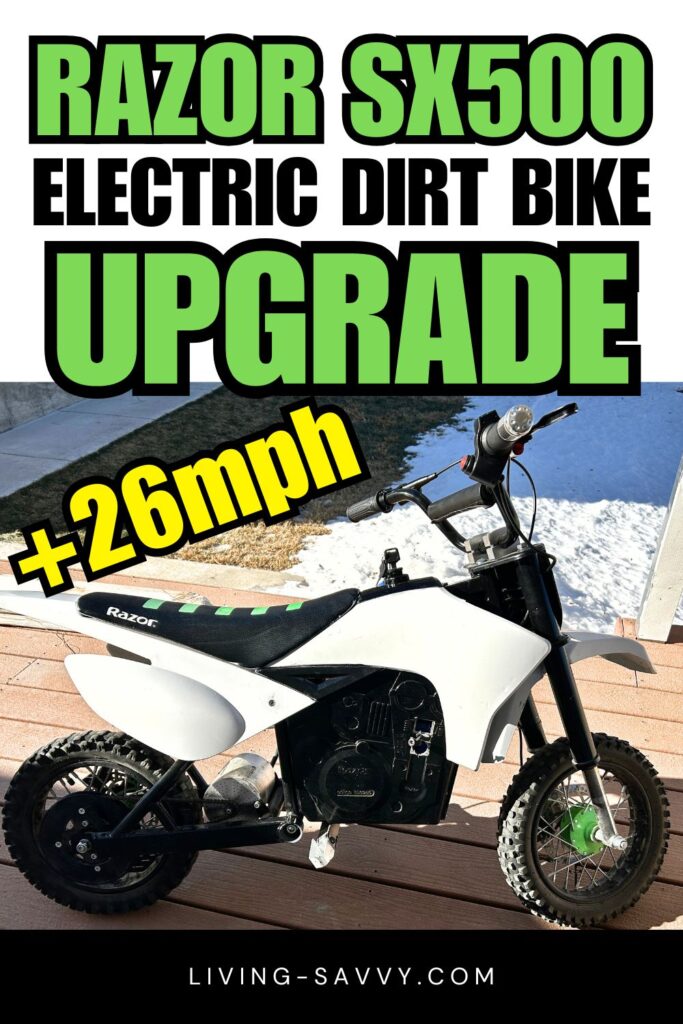
Have you ever thought about upgrading an electric dirt bike? Yeah, me either. 🤣 But when you have a 12-year-old boy who somehow scores a Razor SX500 for free, things change quickly. The bike was running, but the batteries were toast, and the rear sprocket was shot. Since my son spends way too much time watching E-dirt bike videos on YouTube, he came up with the ultimate plan: a Razor Electric Dirt Bike Upgrade! So, we decided to tackle it. Spoiler alert—he had an absolute blast, learned a ton, and we even got the SX500 to hit 26MPH. I’m sharing our experience so you can see exactly what we did and how it all turned out!
Shout Out to B Rich Solution
My son did most of his research for this Razor Electric Dirt Bike Upgrade by watching YouTuber B Rich Solution (check out his channel here). B Rich does an awesome job breaking things down step-by-step, explaining and demonstrating exactly how to tackle the project. If you’re looking for a clear, easy-to-follow guide, his videos are a must-watch!
Table of Contents
Razor Electric Dirt Bike Upgrade: Getting Started: Initial Fixes
Next Steps: Research and Parts
Upgrading the Razor SX500: Project Plan
Razor SX500 Upgrade Parts List
SX500 Disassembly and Painting
Razor SX500 Upgrade Progress Photos
Installing the Upgrade Parts on the Razor SX500
Razor Electric Dirt Bike Upgrade RESULTS!
Getting Started: Initial Fixes
The first thing we tackled for this Razor Electric Dirt Bike Upgrade was replacing the rear sprocket, which we knew was shot. At this point, we were curious to see how fast the bike would go without spending much money.
Once we got the new sprocket installed, we gave the bike a test run. It worked, but it was definitely slow. A big reason for that? The battery. The old one was only lasting about 7 minutes on a full charge, so at this point, we knew new batteries were a must.
Next Steps: Research and Parts
Of course, my son wasn’t satisfied with just getting the bike running—he wanted more out of it, so upgrading was the next step. He took charge of the entire process, diving deep into research and putting together a parts list. It was really cool to see how much time and effort he put into figuring out exactly what he needed. As I mentioned earlier, we relied heavily on the super helpful information from B Rich Solution. If you’re planning a similar upgrade, definitely check out his video for step-by-step guidance!
Upgrading the Razor SX500: Project Plan
Here is a brief outline of what our plan was:
Refinish the Bike
We will remove all decals and repaint the entire bike!
Upgrade the Battery
The Razor SX500 came with a 36V battery. We will be upgrading that battery to a 48V lithium ion battery.
Upgrade the Motor
The SX500 came with a 500W, variable speed motor. We will be upgrading to a 48V 2000W High Speed Motor.
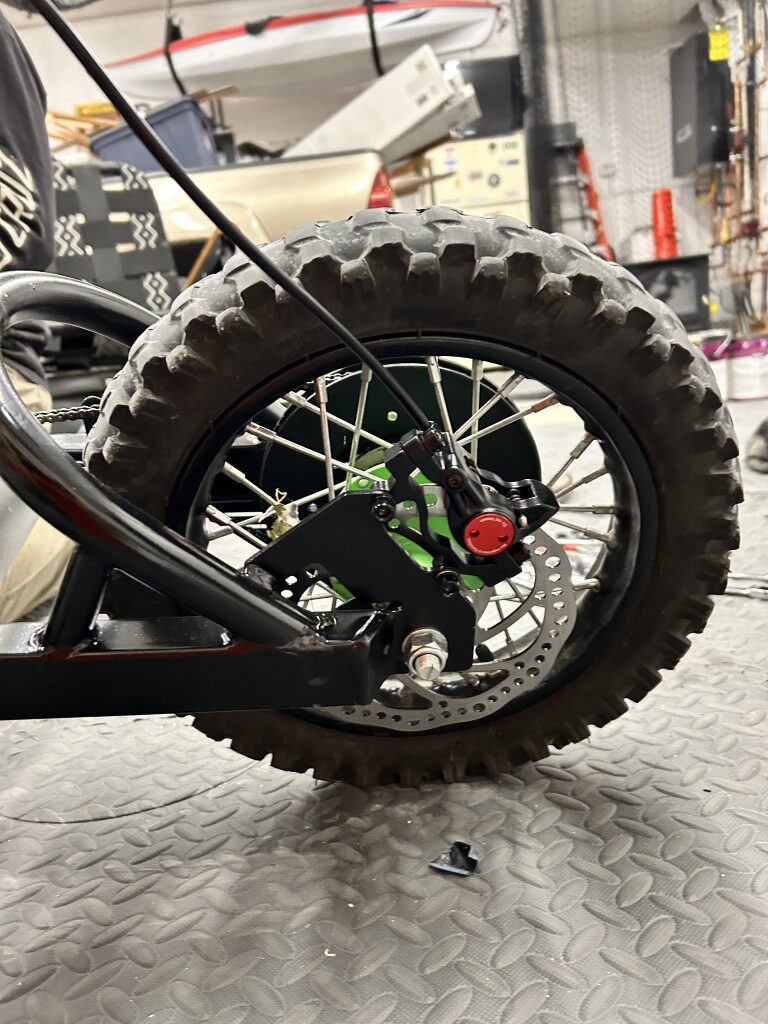
Upgrade the Brakes
We will be upgrading to hydraulic disc brakes. We ordered the Hydraulic Disc Brakes set and the Disc Brake rotors.
Upgrade the Key Ignition
We wanted to use a key ignition, so we will be adding that to this dirt bike.
Upgrade the Throttle
We are upgrading to the 3-speed throttle.
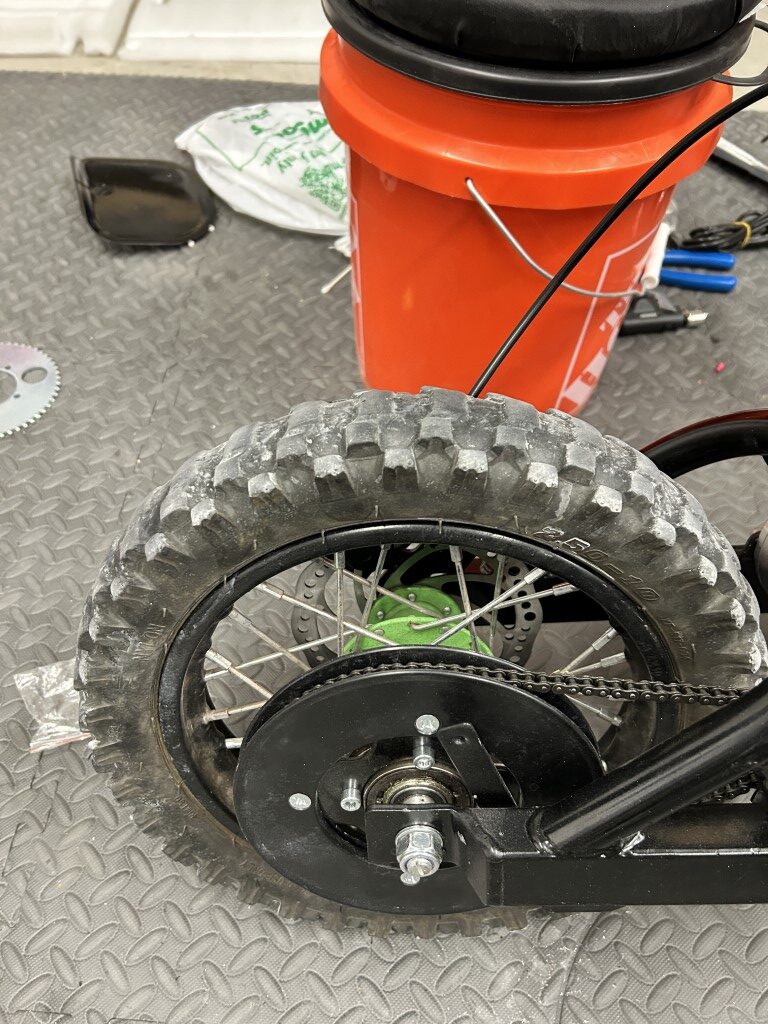
Upgrade the Front Sprocket
We are going to update the front sprocket.
Here are the links to the exact parts we used on our upgrade of the Razor SX500.
Razor SX500 Upgrade Parts List
These are the parts that we ordered for our Razor Electric Dirt Bike Upgrade!
- 48V Lithium Ion Battery: View on Amazon
- 48V 2000W Complete Motor Kit: View on Amazon
- Disc Brake Rotors: View on Amazon
- Hydraulic Disc Brakes: View on Amazon
- 3-speed Throttle: View on Amazon
- Front Sprocket: View on Amazon
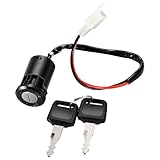
- Key Ignition: View on Amazon
Other Items
- Metal Spray Paint: Buy on Amazon
- Scraper (to remove decals): Buy on Amazon
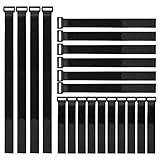
- Velcro Straps: Buy on Amazon
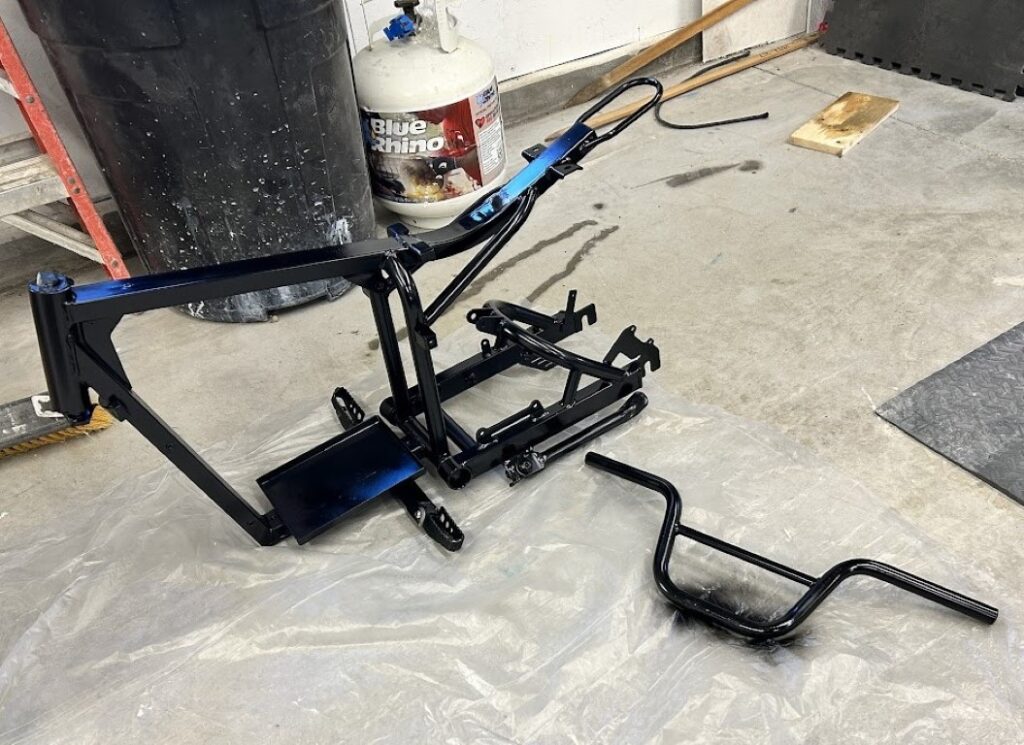
SX500 Disassembly and Painting
We took the entire dirt bike apart, stripping it all the way down to the chassis. My son wasn’t just focused on performance—he wanted to upgrade the look, too! So, he decided to paint the entire thing. Removing the decals turned out to be a lot of work, so if you’re planning to tackle this step, I highly recommend having one of these handy tools to make it much easier
Unfortunately, I totally forgot to take “before” pictures, but if you’re curious about the specs of the Razor SX500, you can check it out below.
The Upgrade Bike – Razor SX500
No products found.
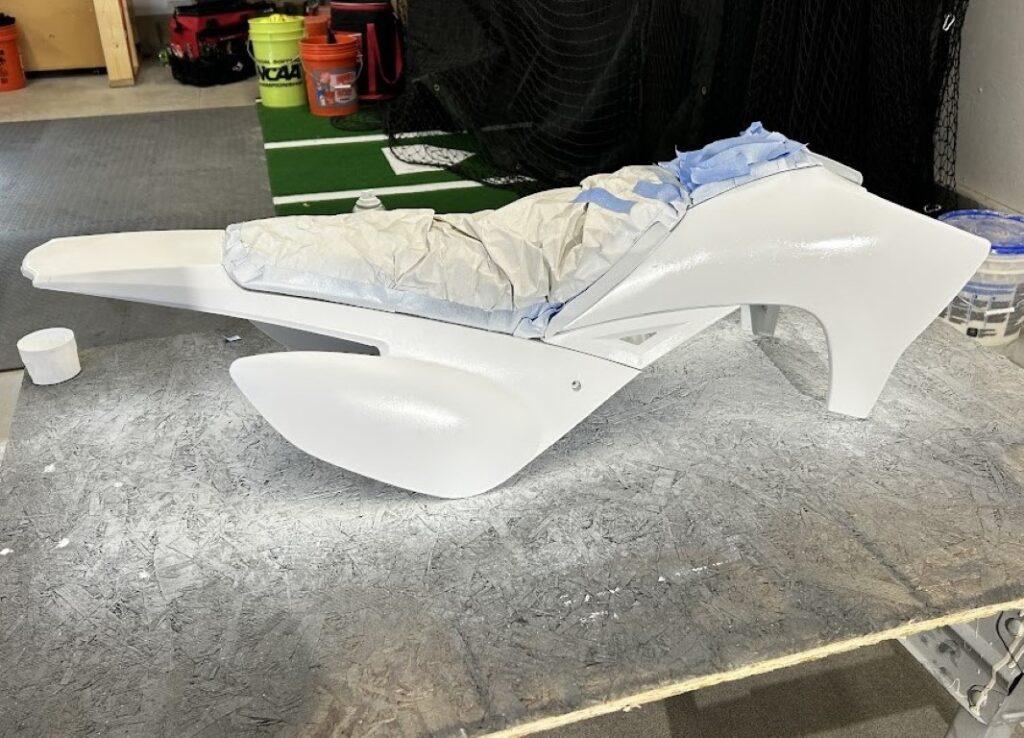
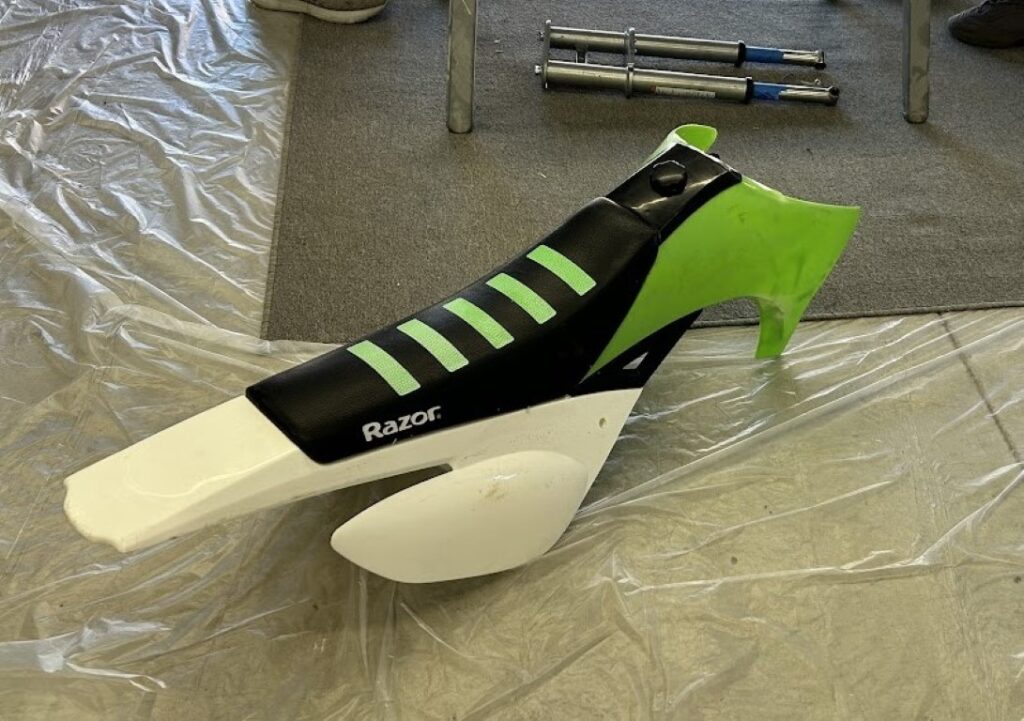
Razor SX500 Upgrade Progress Photos
Here is a photo of the chassis that my son spray painted in black!
And, here is the plastics painted in white.
Here is the before photo of the plastics.
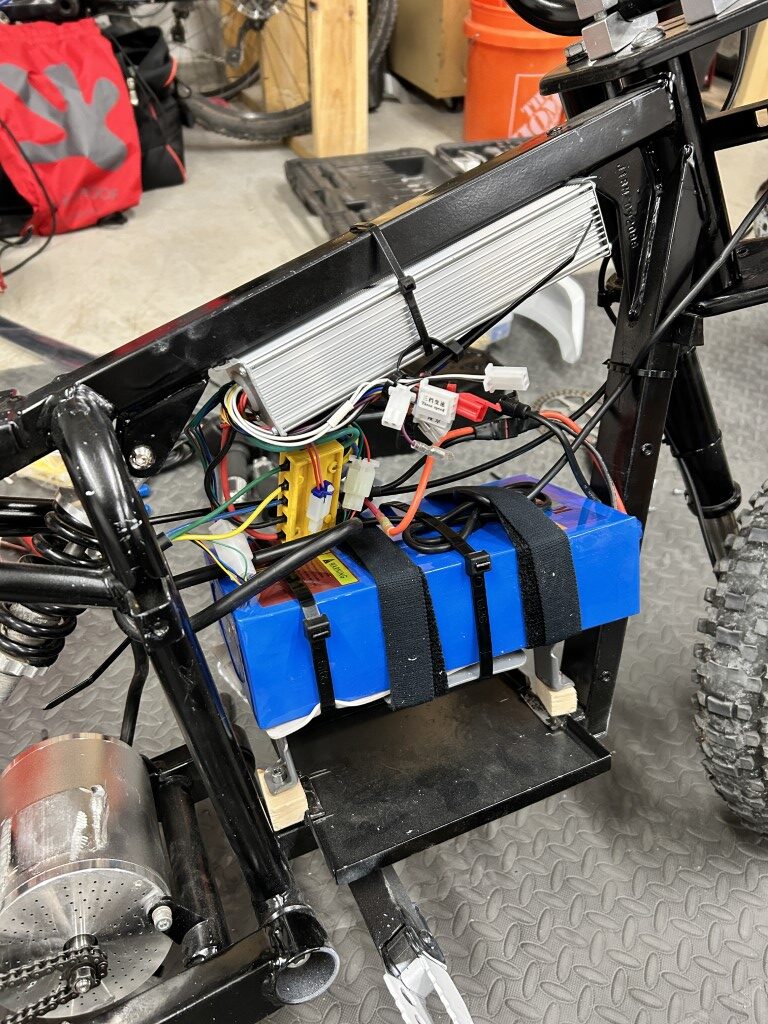
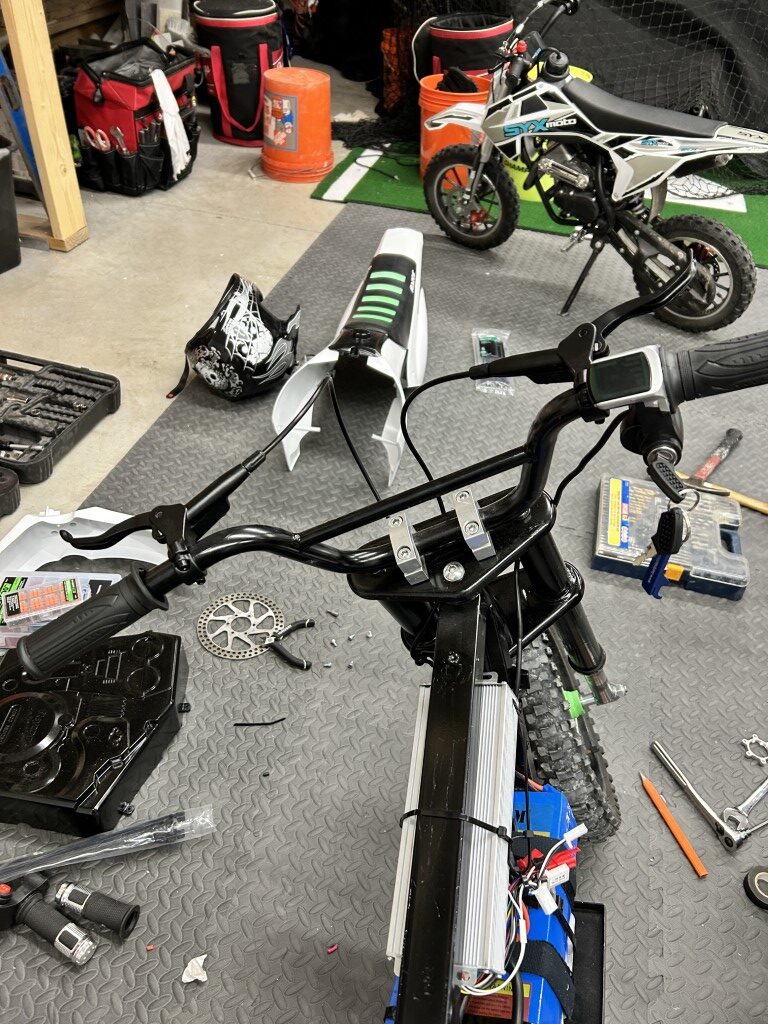
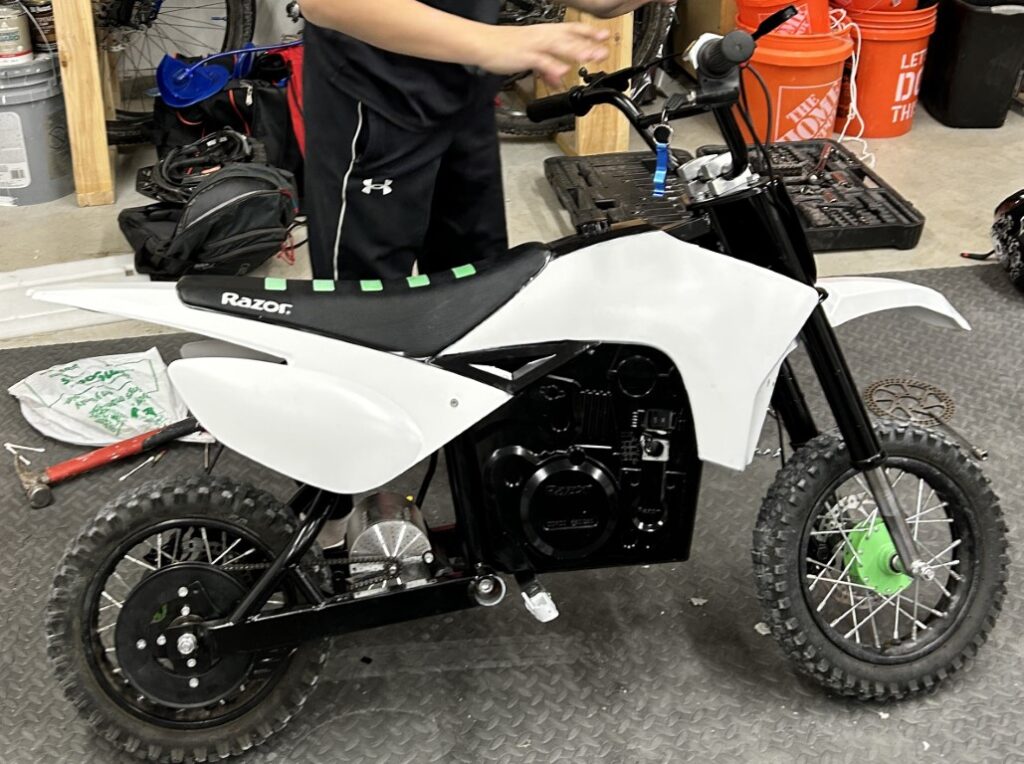
Installing the Upgrade Parts on the Razor SX500
My son received the majority of these parts as Christmas presents! Needless to say, he was quite excited Christmas morning! He got right to work. I would say it probably took around 3 to 4 hours to install everything.
Here are some photos of the Razor electric dirt bike upgrade parts that he installed.
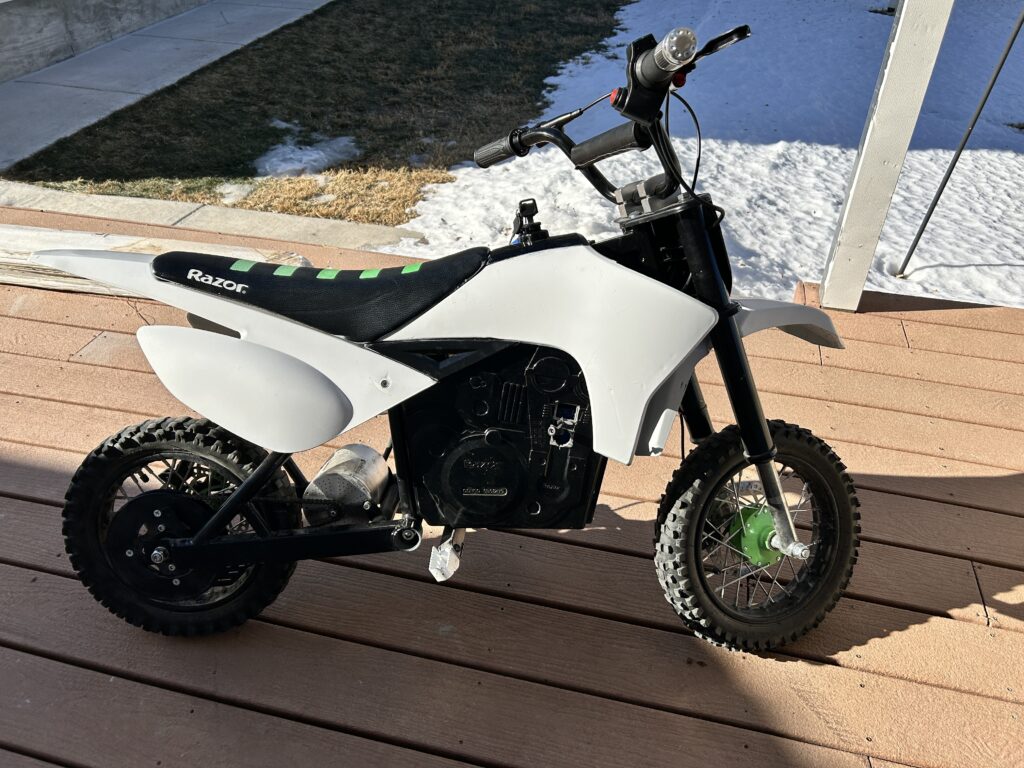
Razor Electric Dirt Bike Upgrade Results
So, what was our overall impression of this project? Well, I can definitely say that the Razor electric dirt bike upgrade REALLY WORKS! This Razor Electric Dirt Bike upgrade has improved the speed and power so much! It is getting it up to 26 MPH! The battery life is also really good. I asked my son if if he would do this project again and if it was worth it. Without hesitation, he said YES!
Here are some final photos of the Razor electric dirt bike upgrade!

Additional Parts
Of course, my son continues to want to improve his upgraded Razor electric dirt bike. Here are a few things that are on his list to eventually do.
- Add an odometer/speedometer like this one: Mini Speedometer
- Purchase a new decal set.
At first, I wasn’t too thrilled about taking on this project. I worried that it would not work, or that we wouldn’t have the details we need to complete it. I was concerned we would put a bunch of money into this, and not get the results he was hoping for. However, I saw this project as a good learning experience for my son. If it didn’t turn out, or work the way he thought it should, there would be a lesson in that. On the other hand, if it did turn out, he would have a really cool accomplishment to be proud of and will have learned a ton in the process. So, I’m glad my son stumbled on a free Razor SX500 and decided to take on this project. He learned so much, and had a blast doing it. Plus, it WORKED, and now he has a really cool little electric dirt bike!
Shop this Post
Quick access to all products referenced in this post!


This post was all about the Razor electric dirt bike upgrade to increase speed!
Other Posts You May Like
- How we Built a Batting Cage in Our Garage
- How to Build a Backyard Halfpipe!
- Best Gifts for Tween Boys
- 15 Outdoor Activities Kids Will LOVE!
- How to Build a Custom Medal Hanger & Trophy Display
Affiliate Disclosure: This post may contain affiliate links. If you buy through them, I may earn a commission at no extra cost to you.
Amazon Affiliate Disclosure: living-savvy.com is a participant in the Amazon Services LLC Associates Program, an affiliate advertising program designed to provide a way for websites to earn advertising revenues by advertising and linking to Amazon. For more information please refer to the Disclaimer, Terms and Conditions, and Privacy Policy.