
Affiliate Disclosure: This post may contain affiliate links. If you buy through them, I may earn a commission at no extra cost to you. For more information please refer to the Disclaimer, Terms and Conditions, and Privacy Policy.
This post is all about DIY whitewash brick fireplace.

Transform your brick fireplace with an easy DIY whitewashing brick technique. Use the 1:1 paint to water ratio and brush and rag application for stunning results. This is a simple and affordable DIY whitewashing method! With just a few steps, you can achieve a stunning whitewash finish that instantly refreshes any brick fireplace.
I wanted to update my fireplace, so I did a little research on brick whitewashing techniques. I found out that there are a lot of different ways to whitewash brick. The biggest difference is in the application technique, and the paint to water ratio. I found some people use a 1:1 water to paint ratio and others suggest a 2:1 ratio of water to paint.
I chose to go with the 1:1 ratio, and I am happy with my results.
This project took me approximately half a day. The preparation of the area easily took an hour alone. The actual paint application went really quick, and I actually really enjoyed doing it. #WhitewashBrick #WhitewashBrickFireplace #WhitewashingTechniques #BrickWhitewash
This post is all about DIY whitewashing a brick fireplace.
Whitewashing Brick Supplies List
To whitewash a brick fireplace you will need:
- Painters Plastic Drop Cloth
- Paint Cup
- Painters Tape
- Paint Brush – Chip Brush
- White Interior Paint – Eggshell
- Old Rags
Whitewashing Brick Fireplace Tutorial
Here are the steps I took to whitewash my brick fireplace.
Step 1: Prepare Fireplace and Brick
Prepare the fireplace, brick, and all surrounding area. Put plastic drop cloth down everywhere!! The paint mixture is so thin, so it splashes and runs, so you need to protect everything. I used cardboard (cheapo pop boxes, LOL) to protect the mantle.

Step 2: Mix Paint
Mix your paint. I used the 1:1 ratio. This just means that I mixed equal amounts of water and paint. I poured them into a separate paint container and then mixed them really well. The consistency is supposed to be very thin.
Step 3: Painting & Whitewashing Brick Techniques
Start painting. The technique that I used was brush application, and rag wipe off. I started with a small spot on the side to see how much paint would soak in and to see if I could get the look I wanted. The first photo shows my first application. The second photo shows how much it soaked in as I moved on.

Brick after first paint application

Paint soaked in to the brick
See how the bottom has now soaked in a bit? This is the look I was going for. So, I was happy with the paint ratio and my technique, so I just kept going.
I would dip my paint brush and do all the joints first and then go over the fronts of each brick. It took quite a few dips to get it all covered. I didn’t really use a normal painting motion, but actually used my paint brush to blot the paint on making sure I got it in all the small crevasses and holes in the brick. I would do a section maybe 2′ x 2′ or so, and then I would go back with my rag and just blot over it. I found that doing it section by section worked a lot easier, since you need to blot it with a rag soon after the paint application, before it dries too much.
Here are some more progress photos of the brick white wash process.

Whitewash brick fireplace – Moving right along! Top done!

Whitewash brick fireplace – Ready for inspection and touch-ups!
Once I had all the paint applied, I stood back and looked for spots that I thought could use either more blotting or more paint. There really weren’t very many. The overall process of whitewashing was very easy, and I really enjoyed it!
Step 4. Enjoy your beautiful whitewashed brick fireplace!
Enjoy your newly updated whitewashed brick fireplace! I also painted the small walls next to my fireplace in my favorite black paint. I love this black paint so much that I have a separate post all about it. Check out all the details about my favorite black paint here: The BEST Black Paint – BEHR LIMOUSINE LEATHER
Here are my final photos of my whitewashed brick fireplace!

Whitewashing finished and painting black accent walls

Black accent walls finished

Whitewash brick fireplace completely finished!
Whitewashing Brick Fireplace: Final Thoughts
I really loved this project, and more importantly, I am in love with my results. We would love to hear your experiences with whitewashing brick. Feel free to share with us any tips or struggles you encountered! #WhitewashBrickTutorial #DIYWhitewashing #DIYWhitewasBrick
Fireplace Décor Ideas
It’s time to decorate your upgraded fireplace! Here are some links to some super cute fireplace décor ideas for decorating your new whitewashed fireplace!
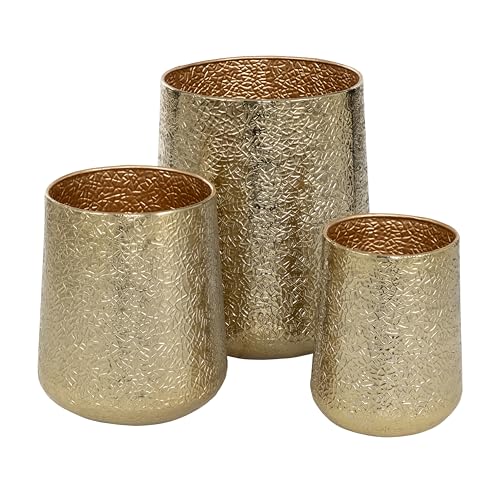
Gold Metal Buckets
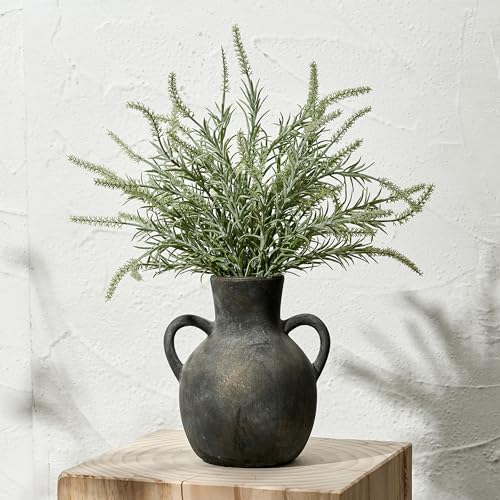
Stone Vase
Faux Plants

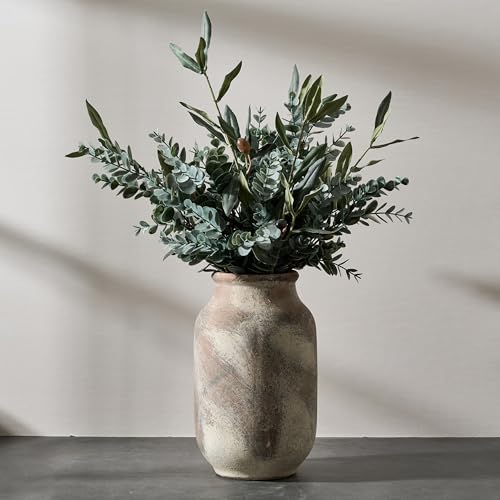
Beautiful Rustic Vase
Rustic Nesting Boxes

Photo Frame Collage

Eucalyptus Stems
No products found.
This post was all about DIY whitewashing a brick fireplace.
Other posts you may like:
- DIY Modern and Trendy DIY Guitar Wall Rack for under $25
- How To Build a DIY Floating Bed with Lights!
- Pleat Perfection: A Simple No-Sew Approach to Add Pleating Tape to Curtains
- The BEST Black Paint – BEHR LIMOUSINE LEATHER
- Cheap Bedroom Decor that Looks Expensive
- 20 Best Amazon Bar Stools
- 10 Affordable Modern Wood Dining Tables with Black Chairs
Affiliate Disclosure: This post may contain affiliate links. If you buy through them, I may earn a commission at no extra cost to you.
Amazon Affiliate Disclosure: living-savvy.com is a participant in the Amazon Services LLC Associates Program, an affiliate advertising program designed to provide a way for websites to earn advertising revenues by advertising and linking to Amazon. For more information please refer to the Disclaimer, Terms and Conditions, and Privacy Policy.